


AAWT trip report
by Paul Cuthbert
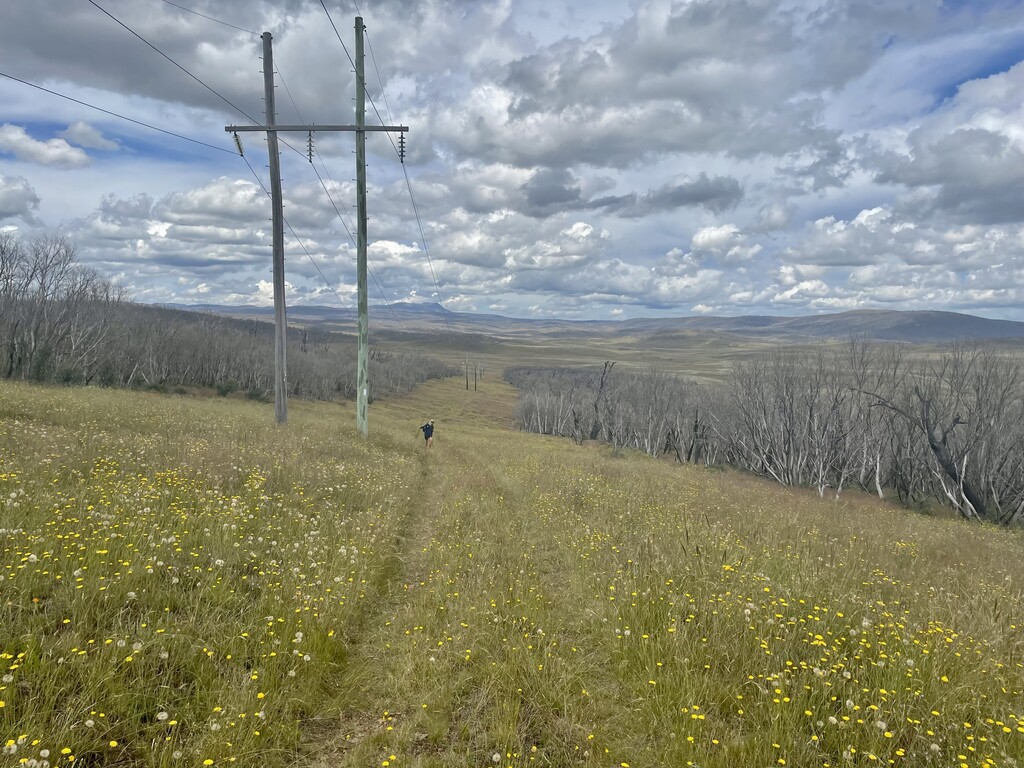
The Australian Alps Walking Track (AAWT) is a beast. It’s a 680km(ish) link up of all the “nice” regions between Walhalla in Victoria and the Namadgi Visitors Centre in Canberra. This includes Baw Baw national park, the Crosscut Saw and surrounding areas, Bogong High Plains, Kosciuszko main range, Jagungal wilderness, and Namadgi. These regions are magnificent, however they are linked by the AAWT using a hodgepodge mixture of fire trails and single track, which at times can be uninspiring. This leads to a track that is very varied, both in scenery and track quality.
We’ve both completed the AAWT before. I did the Fastest Known Time (FKT) in March 2016 of 11 days 18 hours, and Tom walked it shortly afterwards as his first long distance hike. So why do it again? The blame (or credit) goes to Tom, who while walking the Bibbulmun Track in WA had the inspiration that a new AAWT FKT should be attempted. This would be to try and beat the 11 days 9 hours set by John Riley, Kylie Salm and Phil Robinson in November 2019. Tom contacted me, and after some initial reservations the plan was hatched.
Our overall strategy was to walk the entirety of the track, with no running. There are plenty of sections that can be run easily, but this comes at a cost in blisters and muscle fatigue. Our strategy then was to take the track slow and steady. Always walk, but keep moving for around 18 hours a day and limit any breaks. Most nights we slept 4 hours, often augmented by a 15 minute nap in the middle of the day.
The other main difference between this attempt and previous ones was pack weight. We went super lightweight. Our base weight (not including food or water) was about 3kg each. This, in addition to 12 food drops along the route, meant the maximum weight we carried was about 5kg. A lighter pack makes a huge difference. We achieved this using a combination of modern lightweight equipment, and carefully balancing the expected conditions with the minimum needed to stay warm. We took bivvies and a tarp instead of a tent, and left the stove at home.
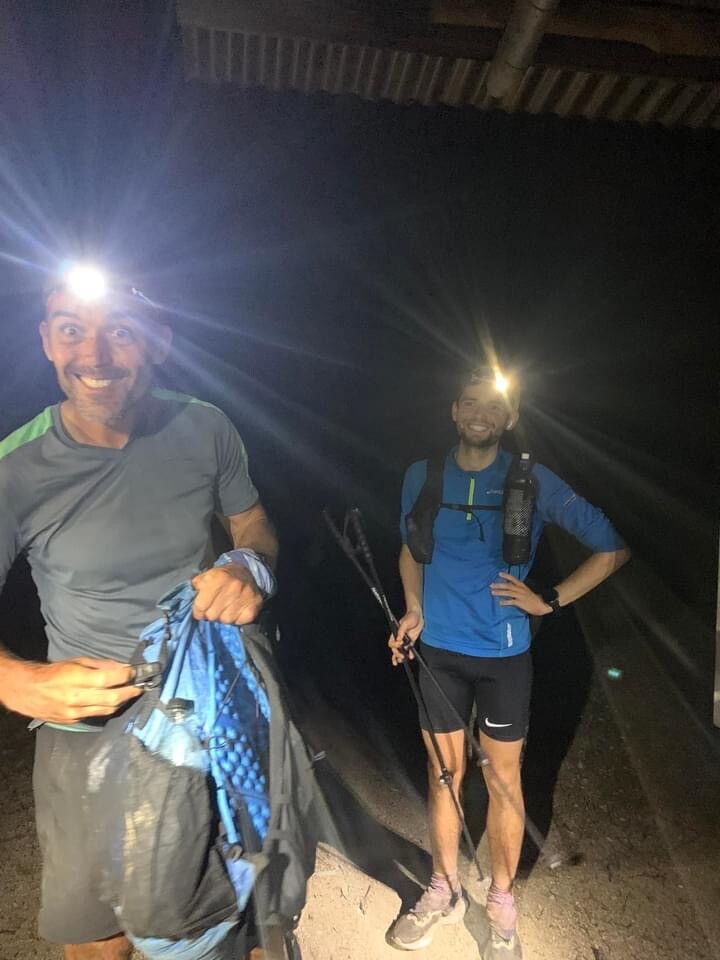
After much planning and training, we were packed and ready to go. We waited for a weather window to help get us through the exposed Victorian sections, then had to wait for my COVID isolation to end following a close contact exposure. Eventually everything looked good. We drove to the start to minimise risk of COVID exposure and started on Sunday 16th January at 6:10am.
Day 1 Walhalla to Fiddlers Green
86km, 18:00hrs
The first day was always going to be huge. We were completely fresh and keen to put some distance behind us, releasing some of the frustration from our delayed start. We climbed up and over Mt Baw Baw plateau, which is the biggest climb on the AAWT, and pressed on past the Thomson and Jordan rivers to Mt Victor, plus a bit more. All up this was around 4,100m of climbing.
Mostly the day went well. The track out of Walhalla was overgrown in places but not too slow. We followed the slightly longer diversion around the Poverty Point bridge, on the understanding that it was closed, only to arrive at the other end of the bridge to find a closed sign but no real reason that we couldn’t have crossed it.
From Mt Erica car park onwards we passed through Mushroom Rocks, which are beautiful, then Mt Erica, Mt Talbot, Mt Saint Phillack and more Mts before finally making it to the Thomson River which has a nice log crossing, or at least it did. The log has been washed away so we experienced our first proper river crossing before continuing to Red Jacket and then up Victor Spur track to Mt Victor and eventually our first food drop and camp at Fiddlers Green. Sleep was restless due to a combination of a huge day, and not enough accumulated sleep deprivation to counteract this.
Day 2 Fiddlers Green to Mt MacDonald
61km, 18:45hrs
Second day on the track and we were feeling pretty good. We each had some minor blisters from day 1 but nothing serious, and as it turned out our feet actually improved from this point onwards until about day 7.
We started following fire trails up Mt Singleton, then the descent down and over Black River. Tom found the track leading to the log crossing, which was fortunate because if we’d followed the river up stream our exit would have been blocked by blackberries. Even so the climb out of Black River was overgrown and not the best part of the AAWT.
Out of the river we climbed Mt Shillinglaw, then hit the Jamieson-Licola Rd for an early food drop resupply. More fire road and we were on the ridge, which was very scenic and great walking, passing Mt McKinty and several other high points before an overgrown descent down to Low Saddle.
At Low Saddle it was essential we fill up with water, since none was expected for the next 26km. Our options seemed to be a large muddy puddle on the road, or a 1km detour off the AAWT to a stream. We decided to go with the muddy puddle, but unfortunately Tom’s water filter thought otherwise and immediately clogged. Rather than waste time mucking about we committed to the detour, filled up our bottles, returned, walked about another km on the trail and then crossed a small stream. Doh! At least there was some comfort that the guide didn’t mention this as a potential water source.
Near the end of the day we started up Mt MacDonald. This would be a great climb to do in daylight. Unfortunately it wasn’t daylight, and with thick fog we had a hard time following the track and ended up wasting time. Eventually we gave up and decided to bivvy until first light. We had a cold night sleeping on rocky ground.
Day 3 Mt MacDonald to Mt Despair saddle
48km, 17:45hrs
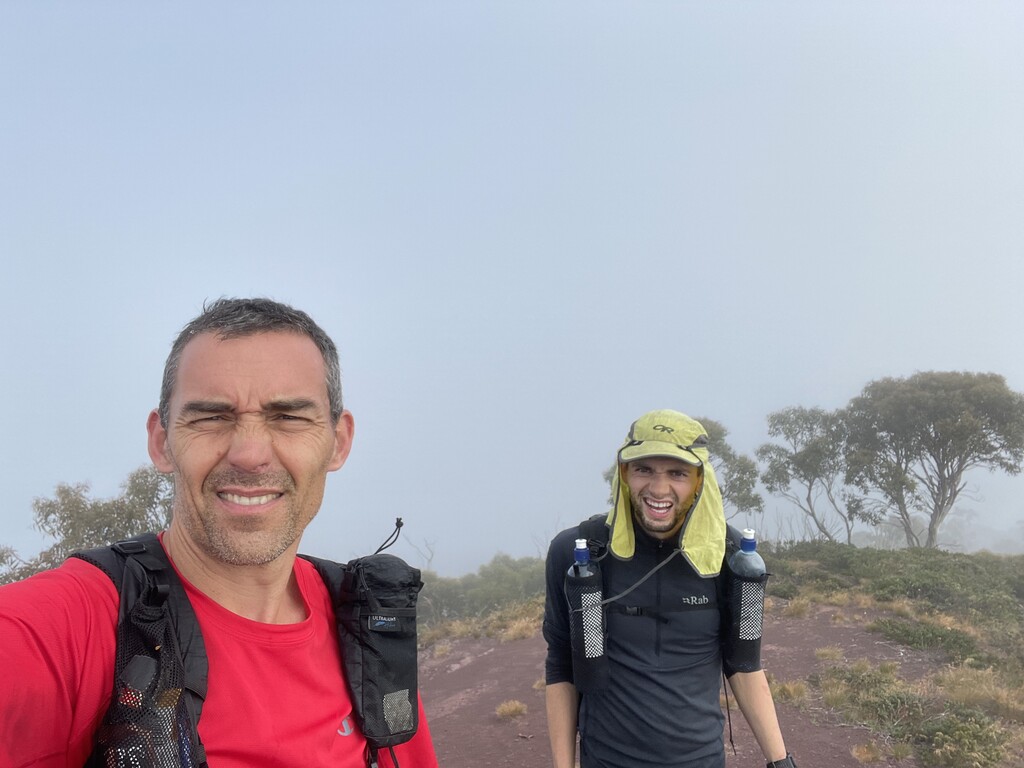
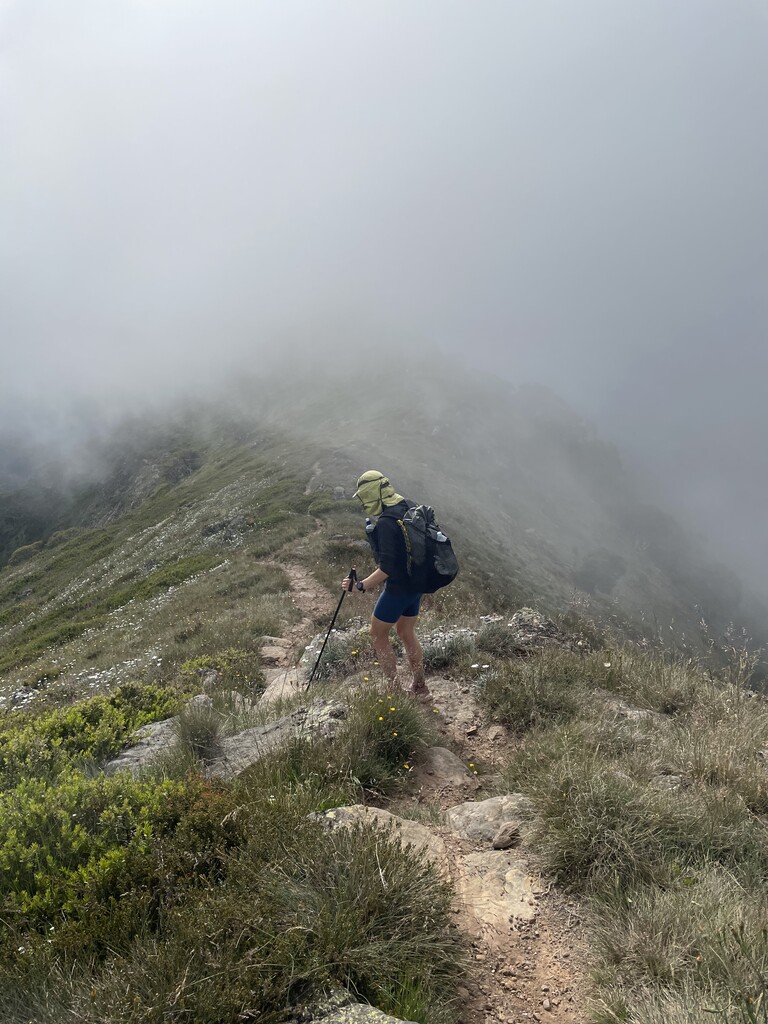
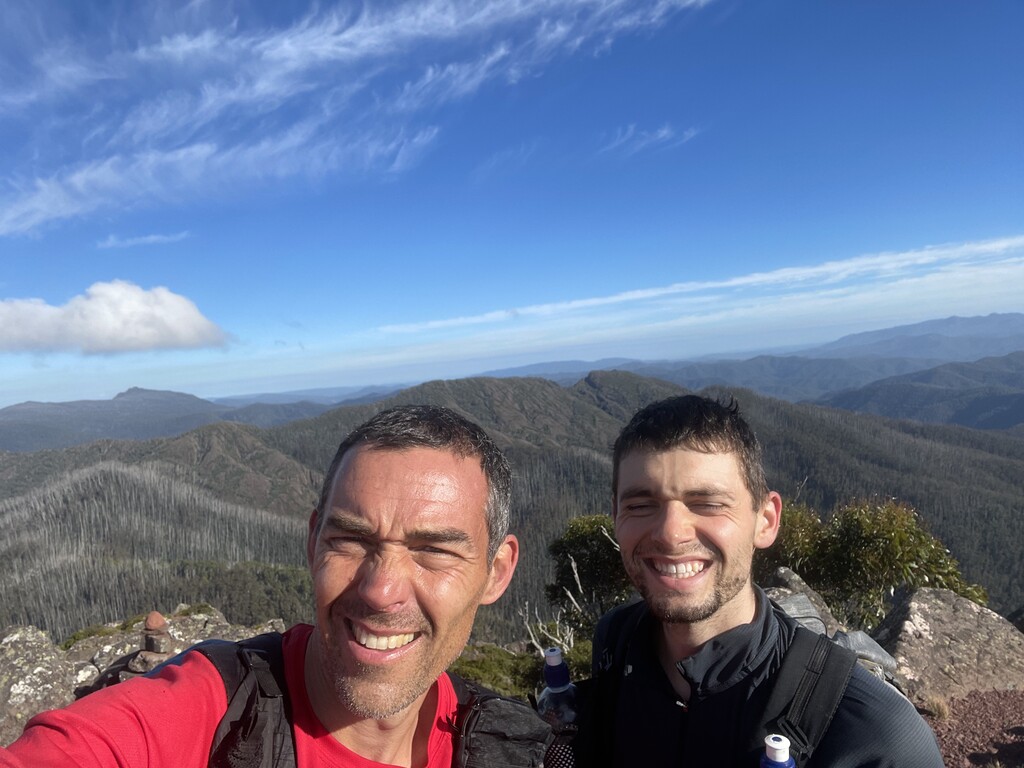
After waking to a beautiful sunrise, we set off for a day of bagging summits. We climbed The Nobs, High Cone, Square Top and Mt Clear before making Chesters Yards and a water refill. Then more summits with King Billy No. 2, King Billy No. 1, Mt Magdala, Big Hill, Mt Howitt, the Crosscut Saw, Mt Buggery, Mt Speculation and finally Mt Despair. All up it was a day of incredible views, but surprisingly only 2,900m of climbing.
The morning had perfect weather, however this changed once we hit the Crosscut Saw and fog rolled in with strong winds. We saw no other hikers until near the summit of Mt Speculation, where we passed a tent and two women jumped out obviously very happy to see other people in the wild conditions. We had a brief chat and they graciously agreed to take our remote food drop out for us from Camp Creek. Thank you!
The original goal for today was to make it past the Viking, however this wasn’t going to happen with the wind and fog. We lost the trail over Mt Despair and wasted more time finding it again, so once we reached the saddle past Mt Despair we decided the wisest thing to do was sleep and wait for morning and sunlight.
Day 4 Mt Despair saddle to Blowhard hut
57km, 19:00hrs
Following wild weather through the night, we woke to find the fog still hadn’t lifted and so went back to sleep for an extra hour. This was our first 5 hour sleep for the trip.
The fog eventually cleared and we made good progress over the Viking and down to Barry Saddle, where we had a short break to dry out gear and look after feet. We then followed a bunch of fire trails to South Selwyn and Mt Selwyn, before following the overgrown descent, more fire trails and then single track to eventually get to the base of The Twins. Here we were expecting to fill up water from the tank, but this was empty because someone left the tap open. Fortunately the night was cool so this didn’t turn out to be a problem.
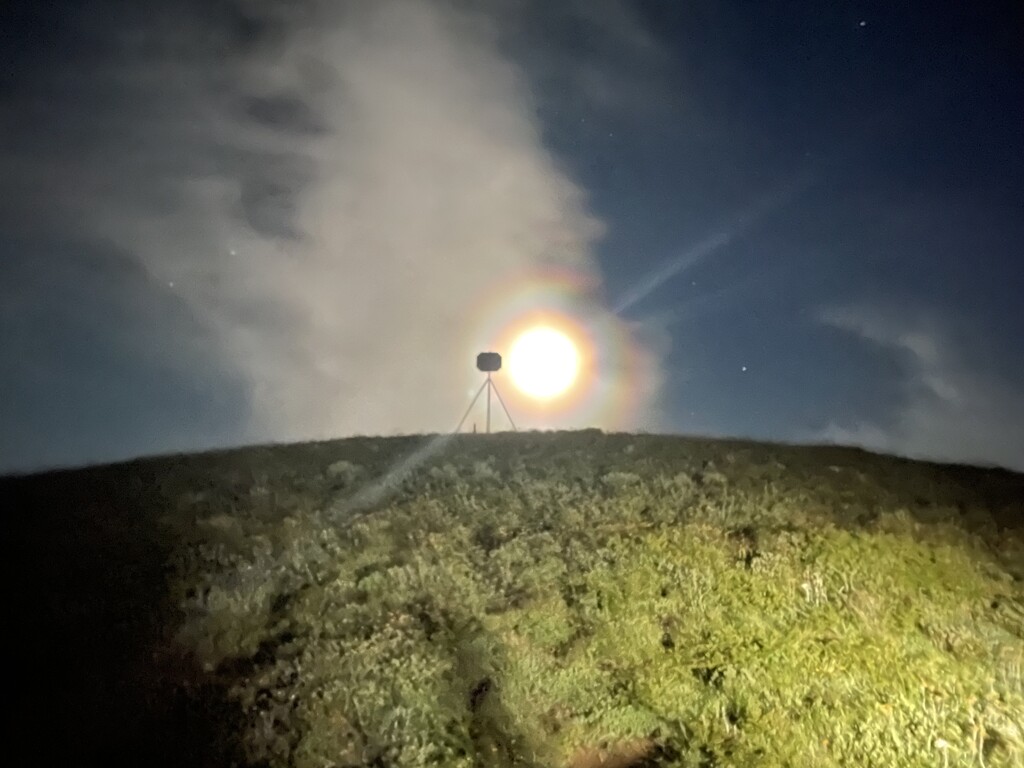
Climbing The Twins was a magical experience. We approached the summit in the dark in strong winds. As the trig point came into view, so did the rising full moon. It was a surreal experience and one of the highlights of the trip.
After The Twins we eventually reached the Great Alpine Road and slogged up hill to Blowhard Hut and a food drop, with a brief detour before the hut to follow the AAWT route around Mt Blowhard. This was easy walking and a nice alternative to the road, but very exposed and windy.
Day 5 Blowhard hut to Maddisons Hut site
53km, 15:00hrs
Blowhard hut signifies the end of the hardest part of the AAWT, so for a small celebration we placed some special food drop treats here. There was a can of energy drink for Tom and a can of beer for me. The energy drink was left unopened, but I had the beer for breakfast. Given that we had limited water at the time it also served well for brushing teeth. There’s nothing that beer can’t fix.
Today was a relatively easy day recovering from yesterday. We traversed the Bogong high plains which are beautiful, including passing Pole 333 where I parted ways with Tom Brazier in 2016, when he had to pull out from our AAWT trip due to injury.
Near the end of the day we descended down to Big River, crossed easily with the recently repaired chain and knee deep water, and then started the huge climb up towards Mt Bogong. This was a struggle, the first real bonk for for trip, so we stopped early at Maddisons Hut site. We were expecting a cold night but managed to camp under a tree, which is considerably warmer than out in the open, and slept well.
Day 6 Maddisons Hut site to Benambra-Corryong Rd
57km, 17:45hrs
After an early finish yesterday, we were up early and moving by 4am. The day started descending down The Long Spur, which really is long and was a great place to watch the sunrise from.
Next was Mt Wills, which is pretty cool with it’s granite boulders, then onwards to the Omeo Highway and a food drop. We replenished sitting by the side of the road with some strange looks from passing cars, before tackling the uninspiring descent to Gill Creek and back out again. Lots more fire roads followed until we entered farmland and crossed the very cool suspension bridge at Taylors Crossing.
We were planning a daytime nap at Taylors Crossing, but decided we didn’t really need it so pressed on, crossed Morass Creek in the dark with wet feet, then eventually made the Benambra-Corryong Rd for another food drop and camp for the night.
Day 7 Benambra-Corryong Rd to Cowombat Flat Track
67km, 21:30hrs
Today was a big day. Cowombat Flat track was the objective and a major milestone, since from here on the AAWT is relatively easy with mostly fire trails and a lot less climbing. Still we had a big day ahead of us to make it happen.
We were moving by 3:30am and immediately started up Johnnies Top. This was interrupted by a break while Tom tried to control a persistent nosebleed, not the first he’d had on the trip but worse than the others. He’d started taking Ibuprofen to manage some developing knee pain, which was nothing serious but something to manage early. Ibuprofen is a blood thinner, so a bloody nose was a side effect.
We made it up Johnnies Top, and then started on the long descent down and along Buenba Creek to Buenba Hut site. This is my least favourite part of the AAWT. The descent isn’t too bad. It’s overgrown and poorly marked, but then so are plenty of other trails. It’s the bog at the bottom that’s particularly bad, along with substantial regrowth along the creek. Progress was slow as we pushed through waist high grass full of venomous snakes. We didn't actually see any snakes but for sure they were there.
We made it out of the bog alive, and eventually reached Buckwong Hut after following some more overgrown tracks and fire trail. From here the AAWT follows a path south along Buckwong Creek which links up to Misery Trail, however most people ignore this and instead take a longer route around using Buckwong Track fire trail. We wanted to follow the proper AAWT route, and actually it turned out to be fine. I suspect people avoid the AAWT track because they’ve been so scarred by what precedes it.
Today was the first day we saw brumbies. There were lots of brumbies from here to the ACT border. Too many brumbies. Over the whole AAWT we saw only a handful of other animals (mostly snakes and some kangaroos), but these were far outnumbered by the brumbies. This is not a good thing.
Back to the track, we pressed on, on and on before finally making the Cowombat Flat Track and a food drop. We were exhausted and decided to reward ourselves with a 6 hour sleep. Unfortunately the sun came up so we only got 5 hours. This was our second and final sleep in for the trip.
Day 8 Cowombat Flat Track to Dead Horse Gap
59km, 15:00hrs
Our food drop at Cowombat Flat Track included a shoe change, which was fortunate because the first half of the track had basically destroyed my new trail running shoes. We switched to road running shoes in the hope that these would be more comfortable on the hard fire trails to come.
Today was all about following the Cowombat Flat Track. We followed it all the way to the NSW border, where we crossed the Murray easily near its source. After the border the AAWT track actually leaves Cowombat Flat Track to cross Pilot Creek and climb a ridge, before descending back down to rejoin it. Pilot Creek is more than just a creek, but luckily there’s a fallen log that makes crossing it easy. A local echidna was using this log so we had to wait turns.
We continued along Cowombat Flat Track to Tin Mine huts, where it changes name to Cascade Trail, then followed this to just before Dead Horse Gap and our camp. We saw no other people today.
Day 9 to Dead Horse Gap to O'Keefes hut
67km, 18:00hrs
We were now in familiar territory, with the Kosciuszko main range next on the list of things to do. We crossed this with more perfect weather. Along the way we had another day time nap and foot maintenance break, and recorded our first ever vlog for the Facebook followers.
We descended from the main range in the afternoon to Whites River Hut, then continued on and into Jagungal wilderness. Walking past some happy campers at Valentine Creek, we asked them if they managed to cross the creek keeping their feet dry. They said no, we thought yes, and we managed to find a way across the boulders while they looked on. We scored a thumbs up, plus dry feet which is always a bonus.
After passing Mt Jagungal in the dark we eventually made it to O’Keefes Hut where we decided to stop for the night. We’d previously hiked in a food drop so there was double motivation to stop here. We sneaked into the hut quietly, but ended up waking another AAWT solo walker. Ngaire was super friendly and welcoming, having followed our trip on Facebook. It was fantastic to talk to another friendly human being.
Day 10 O'Keefes hut to Tatangara Creek
71km, 19:00hrs
By now we knew this was going to be our second last day, so we were motivated to cover as much distance as possible to ease the load on the last day.
Mostly we followed fire trails, some of which were overgrown. We went around Tabletop Mountain and finally popped out at Kiandra, for another food drop and break sitting by the road. Following this there were a couple of river crossings, shoes off, then more fire trails to reach Witzes hut.
We left Witzes hut in the dark and pushed on until the next river crossing at Tantangara creek. Tom was a walking zombie at this stage so we decided to stop. Rather than camp by the river, which would have been cold, we reversed the track 100m or so to higher ground and managed a good night's sleep. The ground was rocky, and being less than careful on our last night’s sleep, my sleeping mat punctured. It made absolutely no difference to my quality of sleep.
Day 11 Tatangara Creek to Namadgi Visitors Centre
89km, 23:00hrs
It was finally our last day, and it was going to be a big one. We just needed to make it to the end, and could bury ourselves getting there. At this point we were confident we had the FKT, but not so confident of being able to finish under 11 days, so we had to keep pushing to try and achieve this completely arbitrary goal.
The day started with two river crossings, Tatangara Creek and the Murrumbidgee. There was some nervousness about whether we would need to wear shoes while crossing the Murrumbidgee. This would have led to wet feet and exacerbated blister problems early in the day. Fortunately the river was low enough to cross barefoot and keep our shoes and socks dry.
The Murrumbidgee is followed by a cross country section, which originally was unmarked but now has occasional trail markers. We’d been warned of being led astray by brumby tracks and so were careful to stay on route. In the end we had no problems but were glad when we were finally out of the tussock grass and reached a decent fire trail.
From the fire trail there were lots more fire trails to Oldfields hut and a 15 minute day snooze. Along the way we were hit by some significant rain. The clay roads quickly turned to streams, we got soaked and slipped all over in our road running shoes.
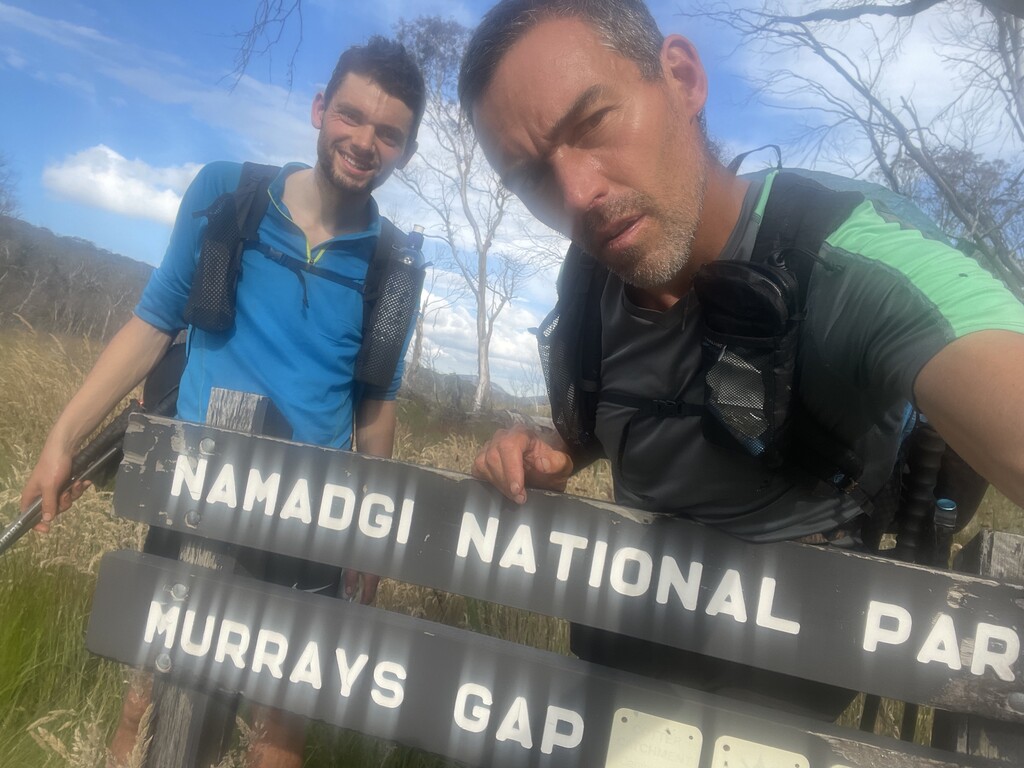
Entering the ACT was a motivation boost, and descending from Murray Gap seemed easier than expected. The same cannot be said for the Cotter Gap Track. This dragged on for what seemed forever, probably because we were so close yet so far.
After following the seemingly pointless AAWT diversion near Orroral Valley, we climbed up towards Honeysuckle Creek to be greeted by Steve and Maddie coming the other way. Some friendly faces at last! It was great to be able to chat and a good feeling that we really were close to home now.
From Honeysuckle Creek we were on very familiar trails, through to Booroomba Rocks car park, Bushfold Flats, then the descent down Mt Tennent. This section takes so much longer walking than during a routine trail run. Still, it was home terrain and nothing’s gonna stop us now.
For the final downhill stretch we were greeted by Ella and Mel, then Zoe and Ryan. Finally we reached the finish at the Visitors Centre after 10 days 23 hours 14 minutes. A new FKT and we’d broken the 11 day barrier. Happy smiles all around before being whisked off for a shower and bed.
Comments
You can find articles about our gear list, tactics, and what recovery was like here!
https://theadventuregene.com/index.php/hiking/australia/the-australian-…